For a world that continuously races against the clock, the calm is found in the flickering burn of a candle flame. Candles certainly have the magical power of giving off an intoxicating fragrance. Yet, they can make that even more wonderful if you put them the right way and create an atmosphere of calm and silence. In contrast, the appealing dance of the fire can sometimes be unevenly affected by the performance of the wax. It results in a harsh tunnel that dwarfs the candle's lifespan.
But getting just the right burn is not just a matter of appearance as it involves some science of the wax, the wick, and the flame. Ranging from Paraffin to Soy, every wax type demands different techniques to give an even coverage. Hence, irrespective of why you light a scented candle after a long day, be it for relaxing or making a special occasion, this article will give you an insight into how to improve your candle-burning skills.
Table of Contents
How To Burn A Candle Evenly?
To fix the issue of an uneven burn, wrap it in foil, let it all melt, snip the wick, and mind the breeze. Moreover, only burn the candle for 2-3 hours max. Don’t blow on it, nor extinguish it with water. Instead, snuff it to extinguish. But the main question is why candle tunneling happens. This usually occurs because the candle wasn’t initially burned long enough.
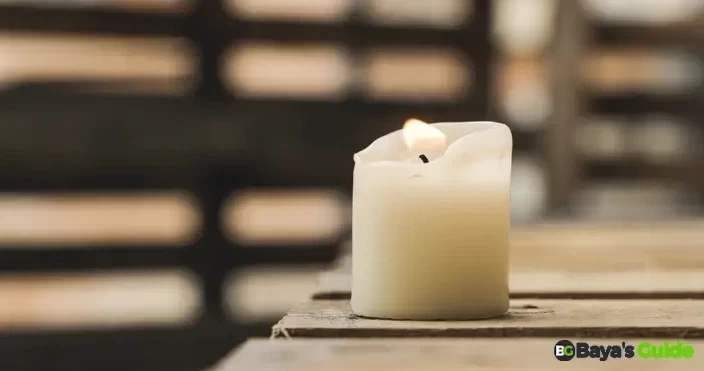
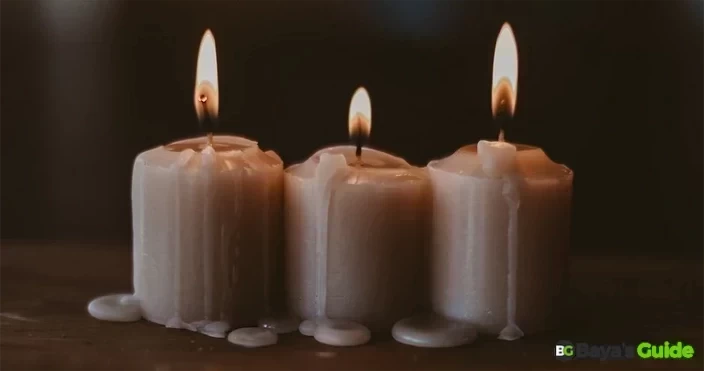
Lighting a new candle briefly doesn’t melt the wax all the way to the edge and creates “memory rings” of unmelted wax around the wick. This leads to the candle tunneling down the middle over time. Tunneling happens because the already-melted wax is softer and needs less heat to melt than untouched wax. So, when you relight the candle, the wax melts unevenly, and the tunneling makes the candle burn faster and less efficiently.
This doesn’t just make your candle look bad. It also shortens its burn time since only a small amount of wax is used. Also, tunneling can sometimes become so deep that it prevents the wick from lighting again. But there are ways to avoid it and make your candle last longer. Let’s learn some tips to prevent tunneling:
Wrap The Candle In Aluminum Foil
One way to tackle candle tunneling is by wrapping it in aluminum foil. This is to make the foil reflect heat towards the candle's edges, helping to melt the wax there. Here’s what you can do: Wrap a piece of foil around the candle jar’s outer side. Fold the top part of the foil inwards over the untouched wax while keeping an opening in the center of the flame. Leave it burning for about 1 hour.
By then, the melted wax should spread evenly, reaching the jar’s edges and fixing the tunneling issue. It might take a few attempts to get it right, and the foil can get hot. So, don’t adjust it while it’s hot.
Melt The Entire Candle
If you want to know how to fix candle tunneling without foil, another common way is to melt the entire candle across its surface. The goal is to eliminate the wax’s memory rings, ensuring the next time you light the candle, the melted wax pool extends to the jar’s edge. Here’s how to melt a tunneled candle.
Use a blow dryer to melt the entire surface of the candle. First, extinguish the flame if it’s burning. Then, use a blow dryer on a low setting to gently melt the wax towards the edges of the jar. Be cautious not to get too close to prevent splattering.
Put The Candle On An Even Surface
When you light a candle, make sure it’s on a steady and flat surface. If the surface isn’t stable, the wax will melt unevenly, causing tunneling. So, go for a solid spot that’s not something that burns easily, like a table, shelf, or candle holder. Just be sure the surface isn't slanted. You could use a level tool to check that. If the surface is uneven, stick something like a piece of cardboard or a book under one side of the candle to make it even.
Clip The Wick
Another way to burn candles evenly is to clip the wick. Wait until the candle cools down completely. Never trim a hot wick, as that could make wax splatter. Get your hands on a wick trimmer or sharp scissors to do the trimming. Cut the wick to about 1/4 inch above the wax. If the wick looks black or is smoking, cut it down more with a butter knife until it’s clean and white. Throw away the trimmed bits in a safe spot. Don't burn them because they might start a fire. Just keep things safe and tidy.
Using Longer Matches
Using longer matches or a lighter when lighting a candle evenly is a smart move for a few reasons. First off, it’s safer and easier to reach the wick. This is especially important for big candles or ones with tall wicks. Reaching deep into the candle to light the wick might accidentally make the candle tip and cause the wax to melt unevenly. Secondly, it helps you start an even burn right from the start.
When you use a longer match or lighter, you can hold the flame steady and make sure the wick gets an even light. This stops the candle from smoking weirdly or getting that tunnel effect. Last but not least, it keeps you from getting burned. Candles like multi-wick candles, can get seriously hot, and using a short match or lighter can endanger your fingers. Picking a longer match or lighter lets you stay at a safer distance from the flame, keeping you burn-free.
Mind The Breeze
If your Yankee candle is not burning evenly, leading to tunneling, it could be because there’s a breeze around. To dodge this, make sure your candle isn’t close to open windows, doors, or air vents. And keep it away from fans or heaters, too. If you have no choice but to put a candle where there’s a draft, using a candle guard might help to shield it.
Burn The Candle For 2-3 Hours
Keep an eye on your candle while it burns. It's wise to put out the flame before it goes beyond 3 hours. Doing this helps stop tunneling and allows the candle lid to burn evenly. Generally, 2-3 hours is the longest you should burn a candle, But it’s wise to check the specific candle’s guidelines, as some might need even shorter burn times.
Snuff The Candle
Blowing out a candle can make the wax splatter and lead to an uneven wick. But if you snuff out the candle, it’s much neater – the flame goes out without disturbing the wax or wick. First, you can use a candle snuffer to cover the candle flame.
You put it on, and the flame stops without creating smoke or ashes. Suppose you don't have a snuffer, a metal spoon works, too. You hold the spoon over the flame and lower it gently onto the wick. The flame goes out, and there’s no smokiness or ash. And if neither a snuffer nor a spoon is around, you can use the lid from the candle jar. Pop it on the flame and press down softly. The flame gets snuffed without any smoke or ash issues.
Don't Use Water To Extinguish
Never use water to extinguish the candle. Using water to put out a candle isn't smart since it can splatter wax and create a mess. Besides, it’s unsafe as the water can heat up and make the candle boil over. As a result, it can burn your hand, the candle container, or even the surface it’s on.
Process Of Burning Candles Evenly
| Ways To Burn Candles Evenly | Description |
| Wrap The Candle in Aluminum Foil | Employ aluminum foil to deflect heat, targeting tunneling with an even degree of melting of the wax. |
| Melt The Entire Candle | After blowing the candle, use a blow dryer to melt the entire surface of the candle to avoid tunneling and form one wax pool. |
| Put The Candle On An Even Surface | The candle needs to be placed on a flat surface to promote even wax melting, eliminating the risks of tunneling. |
| Clip The Wick | After the candle has fully cooled off, trim the wick down to 1/4 inch to ensure even burning and prevent spillage. |
| Using Longer Matches | Leverage longer matches or a lighter for even lighting, preventing uneven burning and reducing the risk of accidents. |
| Mind The Breeze | Avoid situating candles near drafts or windows to prevent air movement and ensure consistent burning. |
| Burn The Candle For 2-3 Hours | Watch the burning time, extinguish the flame within 2-3 hours to avoid tunneling, and follow specific candle guidelines for optimal burning. |
| Snuff The Candle | Use a candle snuffer for a cleaner extinguishing process, preventing additional wax splatters or uneven wicks. |
Read More:How To Inhale A Vape Properly
Home Sweet Home Scented Classic 22oz Large Jar Single Wick Candle - Over 110 Hours Of Burn Time
About This Item
- Indulge in a Heartwarming Fusion: Cinnamon, Baking Spices, and Freshly Poured Tea
- Enjoy a Prolonged 110 to 150 Hour Burn Time
- Experience Consistent Burns with Quality Paraffin Grade Candle Wax
- Generously Sized 22-ounce Scented Candle: 6.6 inches H x 4 inches D
- Optimal Burning with Natural Fiber Candle Wick for Each Fragrance
- Contribute to Sustainability: 100% Recyclable in Partnership with TerraCycle
Why Is My Homemade Candle Not Burning Evenly?
If your DIY candle isn’t burning evenly, a few common factors might be at play. Here are some typical reasons:
Wick Size
Your candle wick could be too small or too big. A small wick won’t heat the wax evenly, and a large one can create a risky big flame. Checking a candle-making chart will help you pick the right wick size.
Hard Wax
If your candle wax has a high melting point, it might take longer to melt and could lead to uneven burning. For tough wax, try softening it by melting it in a double boiler or using a heat gun before pouring it.
Drafty Area
Candles shouldn’t sit where there’s a draft, as it can cause flames to flicker and wax to melt unevenly.
Burn Time
Give your candle enough time to burn. When you first light it, let it go for at least two hours. This makes the wax melt evenly, forming a wax pool that prevents tunneling.
How To Burn A Candle For The First Time?
If you want to burn a candle for the first time, you'll have to take some steps, such as the following:
1- Find A Steady Spot
Put any kind of candle such as the pillar candle on a sturdy surface away from things that can catch fire, like drafts or anything flammable.
2- Trim The Wick
Give the wick a trim to about a quarter-inch using scissors or a wick trimmer. This stops too much smoke and uneven burning.
3- Time To Burn
Set aside enough time for the first burn. Let it burn until the whole top layer turns into liquid wax. That helps it burn evenly later on.
4- Use A Longer Match
Use a long lighter or matches to light the wick in the middle. Skip paper or wood matches if they’re smoky.
5- Fix The Wick
If the wick drifts to the side, nudge it back to the middle before the wax hardens.
6- Trim Again
Before the next light-up, trim the wick to a quarter-inch for a clean burn.
7- Repeat The Process
Keep doing similar steps for the subsequent burns. Trim the wick, melt the wax evenly, and burn for a reasonable time to avoid tunneling.
8- Be Careful
Never leave a lit candle alone. Keep it away from kids, pets, drafts, and things that catch fire. Put it on something heat-resistant. If it acts unusually, snuff it out.
Frequently Asked Questions
How Do I Stop Candles From Tunneling?
You can stop your candles from tunneling by ensuring each burn fully melts the top wax layer, especially during the initial use. Burn for 2-3 hours each time. Trim the wick to 1/4 inch before lighting; longer wicks lead to uneven melting and tunneling.
Keep the candle away from drafts to avoid flickering flames and uneven melting. Opt for suitable wax types like soy to reduce tunneling risk, and ensure the wick size matches the candle and wax for even heat distribution.
Why Is My Candle Burning In The Middle?
Your candle might burn in the middle due to a few reasons. Insufficient wax around the wick means less fuel for an even burn. Likewise, a too-long wick creates a big flame that overheats and melts wax unevenly, causing the middle burn.
Drafty spots blow flames, leading to uneven melting and mid-burning. Also, not letting the candle burn long enough prevents wax from melting evenly, resulting in middle burning.
Why Doesn't My Candle Burn Evenly?
Uneven candle burning results from various factors. A too-small wick lacks the heat for even wax melting, while an oversized wick leads to risky large flames. Inadequate initial burning might create a “memory,” causing subsequent uneven burns. Drafty spots affect flames, and an uneven wax surface results in uneven melting.
Do I Have To Let A Candle Burn All The Way To The Edges?
Yes, allowing a candle to burn all the way to the edges during its first use is recommended. This helps prevent tunneling and encourages even wax consumption for subsequent burns.
Conclusion
Mastering how to burn a candle evenly can elevate your candle experience significantly. Whether dealing with tunneling in homemade or store-bought candles, this article offers invaluable insights. The key lies in wrapping the candle in foil, ensuring complete melting, trimming the wick, and safeguarding against breezes.
Remember, limit burning time to 2-3 hours and avoid blowing on the candle or extinguishing it with water. Snuffing is the way to go. Furthermore, if you’re lighting a candle for the first time, place it on a stable base and use a longer match to light it. Also, trim the wick, melt the wax uniformly, and adopt a reasonable burn duration to steer clear of tunneling. By following these guidelines, a more fulfilling and evenly burning candle experience awaits you.

