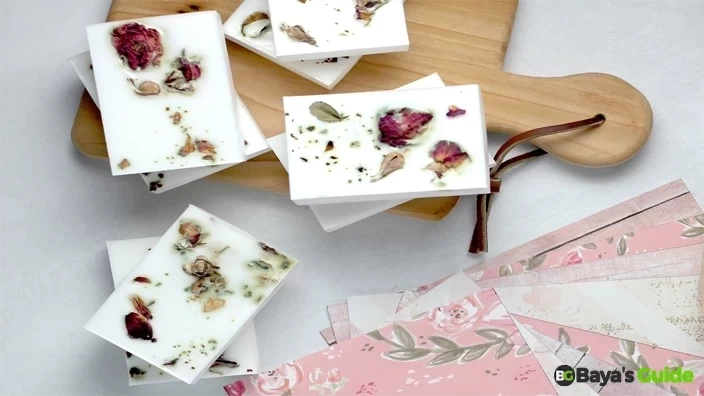
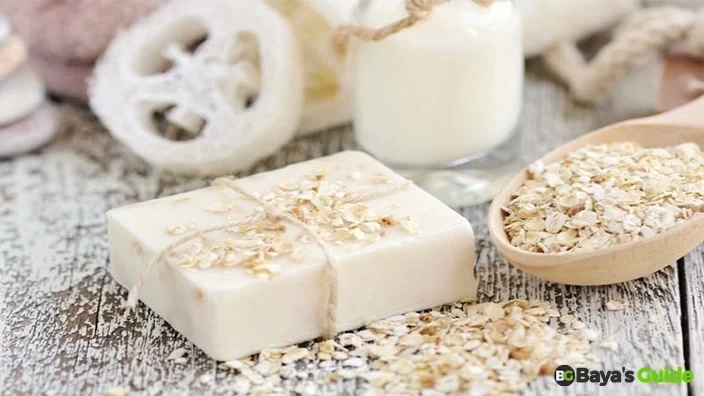
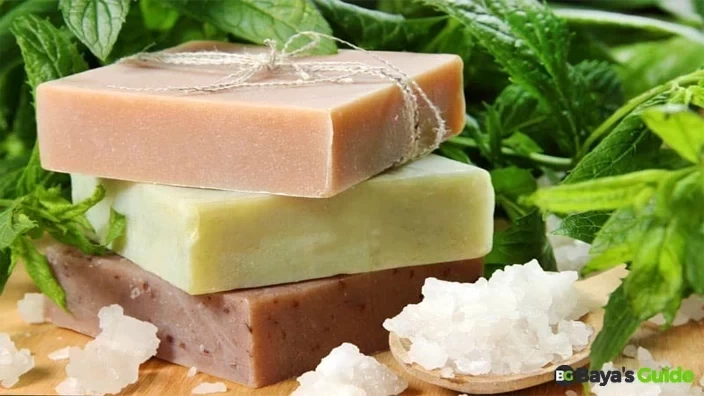
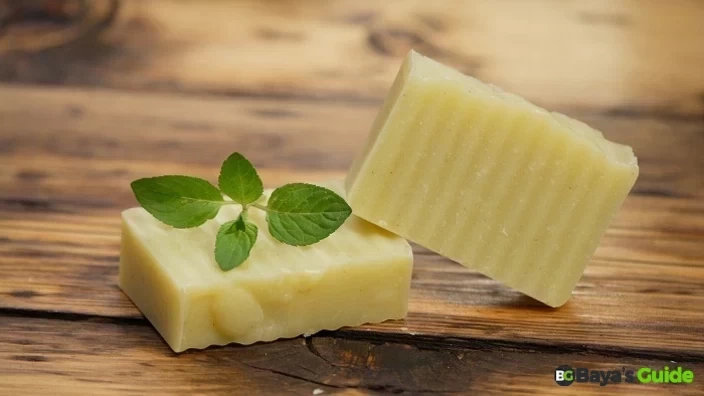
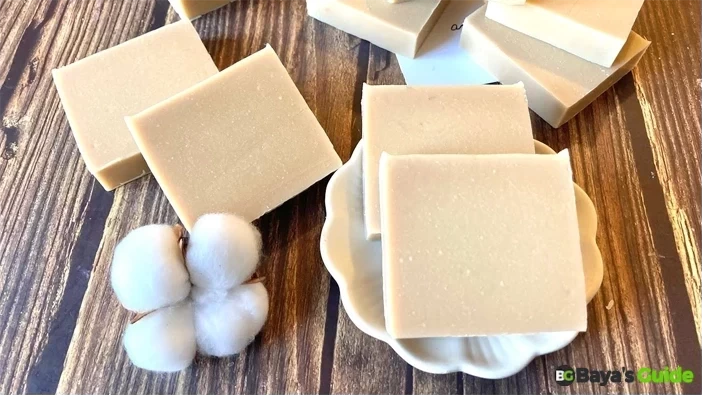
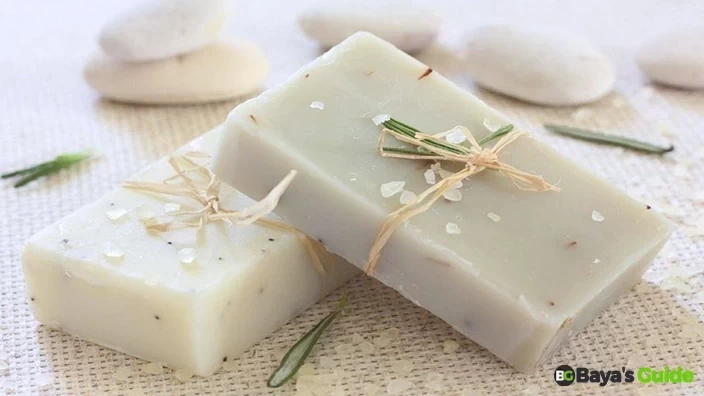
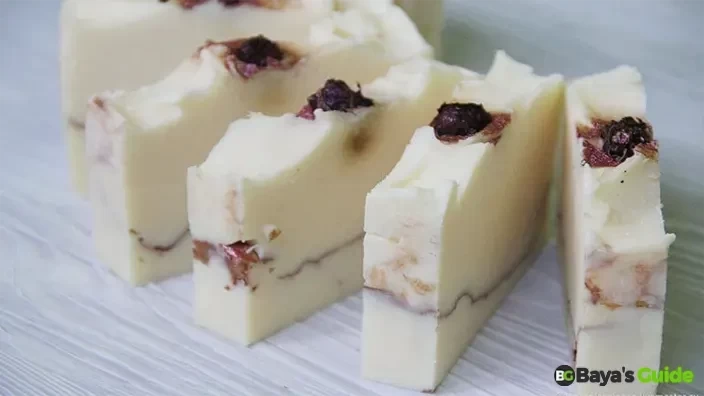
In the mother's care, each tiny drop of breast milk is a precious liquid. It offers unsurpassable sustenance to our children. Yet, through the different stages of being a parent, the inspiration to turn this liquid gold into something touchable and comforting for the mother and baby occurs – artistically creating a breast milk soap. For this purpose, you have to do everything, from choosing the right ingredients to creating a final product with a chosen taste.
You won’t be able to find this soap in the market no matter how much soap you want to buy. You might find some online sellers, but there is too much risk involved because you don’t know where the breast milk came from and whether that person was healthy or not.
Table of Contents
Effective Methods To Make Breast Milk Soap At Home
Two methods are most widely used when making breast milk soap: The melt-and-pour base method and the cold-process method. These methods are known by many names. The former is known as making breast milk soap without lye, while the latter is known as making breast milk soap with lye.
Similarly, the former is known as short-term breast milk soap, while the latter is long-term breast milk soap. Let's delve into the step-by-step soap recipes of each method for a closer examination.
Method 1: Melt & Pour Breast Milk Soap
Lye is a common ingredient used in the soap-making process, but it makes the soap undergo a chemical process that can destroy most of the skin-loving and healing properties of breast milk.
So, if you want to learn how to make breast milk soap without lye, the melt & pour breast milk soap-making method is your best bet. Here’s a detailed step-by-step guide that will help you make this soap:
Step 1: Choose The Base
You can purchase premade melt-and-pour soap bases from the market. They are available from various brands, and most of them are quite good. Just make sure that you are purchasing enough of it.
The best soap base for breast milk soap is the one that aligns with your personal preferences. It will be based on your skin needs.
For example, you can choose Shea Butter base if you want extra softness or for treating infant eczema. You can also choose from olive oil, oatmeal, hemp, coconut, aloe, honey, and many more. You can also purchase from a reputable brand to ensure quality.
The melt-and-pour soap base is a pre-processed soap that has already been processed with lye. They are made with extra glycerin, which ensures you can heat them later on.
Step 2: Cut The Base Into Small Chunks
In the next step, cut the soap base into small chunks to ensure it will easily melt down when you are heating it. Using one large chunk can create quite a bit of inconvenience for you because it will take a lot of time when it melts down, regardless of which heating method you are using.
Step 3: Defrost Breast Milk
If you have chilled breast milk ready in the refrigerator, take it out and let it warm up to room temperature. However, if you have frozen milk cubes, then you will need to defrost it ahead of time. Once the milk has reached room temperature, you can move to the next step. Make sure you have 250 ml of room-temperature breast milk for each pound of soap.
You can use a smaller amount for your first batch or if you are just making one for personal use. For example, when I created my first bar of soap, I used 200g of soap base with 5 oz or 150 ml of breast milk.
Step 4: Melt The Soap Base
Now that both ingredients are ready, it’s time to heat the soap base. There are two methods you can use to heat the base. If you are using a microwave oven, you can place the chunks of soap base into a microwave-safe bowl and place them inside.
Do not set a single long cycle. Instead, heat the soap base in small 20-second increments and stir the melting soap with a spoon after each cycle to maintain consistency. The second method you can use is the double boiler method.
In this breast milk soap recipe, you use a bowl placed in a saucepan filled with water on a flame. This method is much more effective, in my opinion. Never heat the chunks on a direct flame, as it can ruin the soap base.
Step 5: Pour Milk Into The Melted Soap Base
Once the soap base has fully melted, you can pour the breast milk into it. Make sure you are stirring continuously as you are adding the milk. Stirring lightly and consistently will give you a smooth finish.
Do not rush through the process. Take it slowly, mixing and stirring while pouring the milk little by little. One thing you have to ensure is that the milk has reached room temperature before you mix it into the soap base.
Step 6: Adding Oils & Other Ingredients
This is an optional step. You can use it to add some extra properties to your soap. For example, if you want your soap to have exfoliating properties, then you can add a tablespoon of exfoliants like walnut shells, coffee grounds, jojoba beads, pumice sand, or poppy seeds.
It is entirely your choice what ingredients you want to mix in the soap. However, you will have to mix them while the mixture is still hot. Similarly, you can also add essential oils and fragrance oils to give your soap a pleasant fragrance.
Remember to use body-grade essential oils and not anything else since you will be using homemade soap directly on the skin. Various online calculators will help you determine the exact amount of oil you should use in the volume of the mixture.
Bonus Tip: Mixing these ingredients will be more convenient when you are using the double boiler method as compared to the other one.
Step 7: Pour The Mixture Into The Mold
The choice of molds is also a personal preference. You can use a rectangular mold if you want to get traditional soap bars, or you can use shape molds to make the soap more attractive for the kids. The shape molds are available in all sizes, forms, and types.
You can get them in animal shapes, plant shapes, or even action figure shapes. Simply pour the mixture into the mold up to the top. Make sure you are not overflowing the mold.
Step 8: Refrigerate The Mold
Once you have filled all the desired molds, place them inside the refrigerator and allow them to harden for a couple of hours. Unlike the traditional soap-making process, the melt-and-pour method allows the soap to harden in just a few hours. So, after two or three hours, your soap will be ready for use. Hurray! You have your first breast milk soap ready.
Read More: How To Pray When Under Spiritual Attack
How Long Does This Soap Last?
Although there is no specific expiration date, these soaps do not last very long outside the refrigerator. Hence, you will have to keep them refrigerated each time after use. You will have to judge the soap based on the smell.
Once the milk goes rancid, the soap will start smelling bad or funky. As soon as you observe this smell, throw the soap away and take out the next one from the refrigerator. This is the only drawback of this method.
But you can prepare smaller soaps to deal with it. The smaller soaps will run out after a couple of uses, while the rest remain refrigerated and protected. Hence, you can prepare fresh soaps for home use.
Method 2: Cold Processed Breast Milk Soap
If you want to learn how to make breast milk soap with lye, then this method is just for you. Lye is Sodium Hydroxide, an extreme chemical that is used in the soap-making process. This chemical allows the soap to last for much longer and hence is used widely.
Before we start with the cold process soap recipe, you have to take certain precautions because of this chemical. When making breast milk soap with lye, make sure you are wearing protective gear like gloves, eye protection goggles, and clothes you have no problem ruining.
Lye is dangerous to eyes and skin and must not be touched or breathed in, or it can have adverse effects. If you accidentally do so, you will need medical attention immediately.
Even during the preparation process, you will have to keep certain precautions in mind. Let’s dive into the detailed step-by-step guide that will help you make breast milk soap with lye.
Step 1: Freeze The Breast Milk Overnight
Unlike the above breastmilk soap recipe, in the cold-processed soap-making process, you'll need to pre-freeze the human breast milk overnight in an ice-cube tray.
The frozen milk will easily melt, like a goat milk soap, especially if it's in smaller chunks like ice cubes. Once the milk has frozen, it'll be ready for use in the soap-making process the next day.
Step 2: Starting With The Soap Making Process
Wear protective equipment that includes gloves and safety goggles before you start the process. Also, make sure you are not wearing new clothes. There is a chance you might ruin your clothes, so you must ensure that you are wearing old clothes that you have no problem ruining. Now, to start with the process. You will need a measuring cup, frozen breast milk, and lye.
Step 3: Melting Breast Milk Cubes & Adding Lye
Put the frozen cubes of breast milk in a glass measuring cup. Then add lye into the jar bit by bit while stirring. The chemical will automatically melt the milk cubes as it mixes into it.
The process will generate a lot of fumes, so you have to make sure that you are working in a well-ventilated area; otherwise, you will have to deal with the fumes. As I have mentioned before, lye is a very harsh chemical and its fumes, if breathed, can be harmful. So, you must protect yourself.
Cold-processed soap making is not an easy process as you have to take a lot of technicalities into account. Make sure you add lye to milk and not the other way around. If you add lye first and then add milk cubes into it, the lie can explode out of the cup and touch your skin or clothes, which can have adverse effects. Add the lye, spoon by spoon, while stirring until the whole mixture has melted and liquified.
Step 4: Add Oils & Other Ingredients
Now, it is time to add the oils that will enhance the long-lasting ability of the soap. Make sure you add the oils that don’t go rancid very soon. You will have to preheat the oils before you add them.
Add an appropriate amount of extra-virgin olive oil, coconut oil, and castor oil in a saucepan and heat while stirring. Keep doing it until the mixture reaches a lukewarm temperature or 37 degrees Centigrade.
The amount of oil you will have to use will depend on the volume of soap and milk you have used. As I mentioned before, there are various online calculators available that can accurately help you calculate the amount of oil you will need.
You can use any oil that has a long shelf life. Besides the above-mentioned oils, you can also use canola oil, jojoba oil, meadowfoam oil, and tamanu oil. These oils will add to the long-lasting ability of your soap.
Step 5: Add Lye-Milk Mixture Into The Oil Mixture
Once the oils are properly mixed, you can move the mixture into a heat-proof pitcher or jar. Pour it slowly into the jar and make sure to get every last drop out of the saucepan. Now, add the milk-lye mixture you had prepared earlier into the jar. Mix both of these liquids together using an immersion blender.
Normal stirring won’t do the job here. You have to use an immersion blender because of its power to mix the ingredients together. Also, you have to use the blender in short bursts instead of running it all in one go.
Using the blender continuously can form bubbles in the mixture or overheat the blender. Hence, use the blender in short bursts until you are sure that the ingredients are properly mixed.
Step 6: Add Essential Oils & Exfoliants
Similar to the melt-and-pour soap-making process, you have the option of adding the essential oil to this mixture. Adding these oils will give the soap a pleasant fragrance. Make sure you use body-grade oils that are smooth on the skin.
You can use a wide range of oils ranging from soothing lavender to refreshing peppermint. As I have mentioned before, you can use online calculators that are specialized for calculating the amount of fragrance oil you can use in the mixture.
You can also add exfoliants to make the soap better for skin exfoliation. However, the process here is a little bit different. If you are using a light exfoliant like jojoba beads or pumice sand, then you can directly add two tablespoons to your soap.
However, if you are using a fine exfoliant like colloidal oatmeal or bamboo powder, you will have to dilute the powder in distilled water first before adding it to the soap mixture.
Step 7: Pour The Mixture Into The Mold
Now, the mixture is fully ready for the freezing process. Pour the mixture into the mold of your desired shape and get it ready for the freezing process. There are two things you should consider here. First is the choice of mold.
If you want the traditional bar soap shape, then a rectangular silicone mold is fine. However, if you are using a fun shape like an animal or cartoon, make sure the mold is made of silicone. Professionals recommend that you pre-freeze the mold before you pour in the mixture, as it would give the soap a better finish and prevent it from darkening.
Step 8: Freezing Timeline
Once you have poured the mixture into the mold, place it inside the freezer and leave it there for 24-48 hours. The longer, the better. Do not take the mold out before 24 hours. Unlike the melt-and-pour method, this soap-making process takes a lot longer.
Step 9: Let The Soap Cure
The soap is not ready for use even after you have taken it out of the mold. You can start using it instantly, but in that case, it won’t have a long shelf life. Instead, place the soap in a dry and well-ventilated area and let it cure for at least four weeks.
The curing will allow the soap to harden and ensure a longer shelf life. You can boost the curing process by using a fan and a dehumidifier near the soaps.
Step 10: Finishing Up & Storing
Once the curing process is complete, the soaps are completely ready. While lye might have affected some properties of breastmilk, there is one positive side: it won’t go rancid anytime soon.
These soaps are now fully ready and can be used for the next 1-2 years. You can place the one you are going to use in the bathroom and pack and store the rest. If you leave the soaps open, the fragrance might start disappearing after a few months. However, that doesn’t mean the soap has expired. You can still continue to use the soap for about 1-2 years.
For infants, it's advised to avoid using soap altogether and opt for clean water for washing. Medical experts recommend introducing soap only after babies are over 6-8 weeks old. At that point, you can use the breast milk soap prepared through the melt-and-pour method, retaining the nourishing and healing properties of breast milk.
However, avoid lye-based breast milk soap for bathing babies, as the lye can be too harsh for their delicate skin. While harsh chemicals can extend the soap's shelf life, they compromise its nourishing abilities, making it more suitable for larger kids, teens, and adults, but not for children.
Frequently Asked Questions
How Long Does Breast Milk Soap Last?
It depends on which method you use for its preparation. If you have used the melt-and-pour method, then the soap will expire as soon as it starts smelling bad. However, with the lye-based method, the soap has a shelf life of about 2 years.
Is Breast Milk Good For Soap?
Yes, breast milk has a lot of nourishing and healing properties that can be transferred into soap. However, these properties are not fully transferred. The melt-and-pour method is more effective when you want to retain these properties.
What Are The Ingredients In Breast Milk Soap?
The ingredients depend on the method. The melt-and-pour method uses a preprocessed base, breast milk, essential oils, and exfoliants. The cold-processed method uses lye, breast milk, oils, and other ingredients.
What Soap Base Is Best For Breast Milk Soap?
Glycerin base is considered the best base for breast milk soap. When preparing the soap through the melt-and-pour or non-lye method, you can use this premade base which makes the soap-making process a lot easier.
How Old Can Breast Milk Be To Make Soap?
Fresh milk is better. If the breast milk has gone rancid and smells bad, then you should not use it in soap. However, if you had frozen the breast milk while it was fresh, then it can be used for months or even a year.
Conclusion
To sum it all up, breast milk soaps have incredible healing and nourishment properties. You can prepare this soap at home for both kids and adults, ensuring the best care for their skin. Preparing this soap without using lye gives it most of the breast milk’s original properties but the soap doesn’t last very long.
On the other hand, using a lye-based method introduces intense chemical reactions that affect many of the nourishing properties of breast milk but give the soap a long shelf life.
For babies, the former method is much more effective as it retains the healing properties of breast milk. Although the soap expires much sooner compared to the latter, you get the most out of it if you prepare smaller soaps. Do you know something we don’t? Drop it in the comments section below and share it with us.

